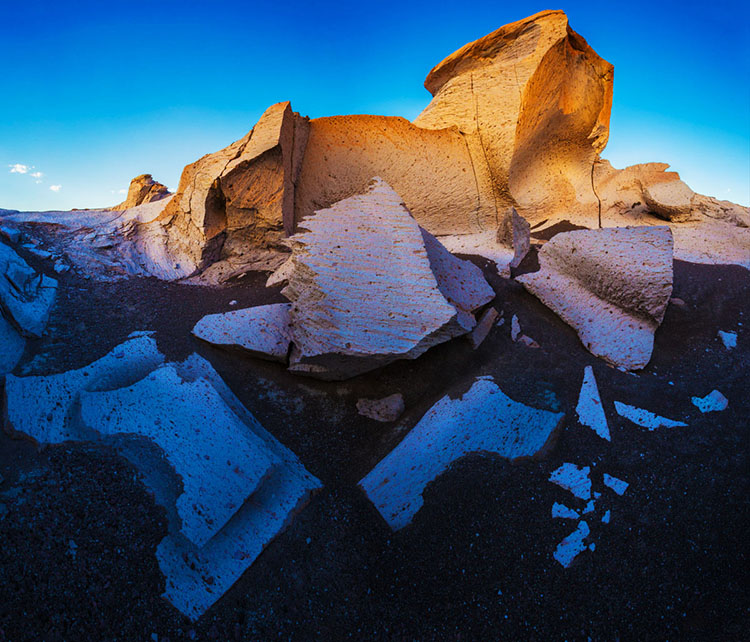
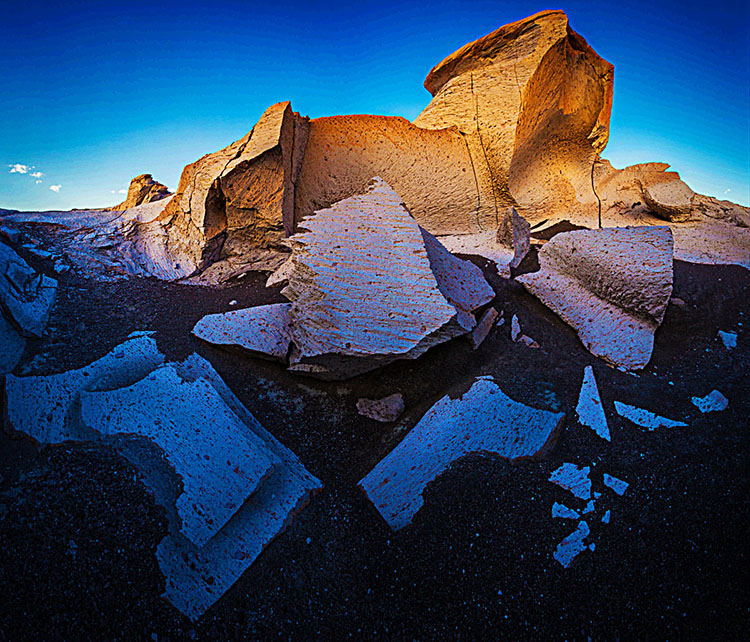
This post is from John Paul Caponigro, Son of Paul Caponigro, a photographer who was very influential to me.
9 Ways To Tell If Your Photographs Are Over Cooked


9 Ways To Tell If Your Photographs Are Over Cooked
Have you ever taken an image so far it gets completely out of control? I know that feeling well. It happens to all of us. It’s not all bad. We have to step over the line to find it. It is better to work hot and then to cool down than play it so safe we never get where we really want to go.
If you find yourself in so deep that you’re not sure where you got off track and you don’t know what to do, use this check list to identify the issue. Then fix it. Even one thing can make a big difference.
Here are some common pitfalls to avoid. (Most of these moves help images; this is just a matter of taking them too far.)
Highlights clipped
You want your highlights to glow, right? But you want them to have detail too. That’s the limit. Paper white is for poets not photographers.
Too Bright
Have you ever felt like viewing an image would be easier with sunglasses on? It’s common to make images brighter while trying to get them to glow. The key lies in midtone contrast. Place it in the most important image areas and darken and/or reduce the contrast of surrounding areas to support it further.
Shadows Clipped
Unless you’re going for gothic or graphic, hold that shadow detail. Areas of dark do make midtones and highlights appear brighter. Better still, handled sensitively these dark areas can hold a unique light at the same time.
Too Much Contrast
Contrast glows, until it makes you squint. More’s not always better. Think of Goldilocks; one of them was just right.
Over-Sharpened
Yes, we tend to think of focussed sharp images as signs of good equipment and good technique. Blurry photographs are a real drag unless the blur in them is intentional. Nevertheless, it’s easy to overcompensate and make images too sharp, completely forgetting about the sensual possibilities of texture. Let those be your guide as to how far to go and not go. (Remember, angels have halos, not horizons.)
Noise
A little bit of noise is not the end of the world. But try not to add more during processing. Guard against it when applying extreme contrast like Clarity and Dehaze as well as when sharpening. It’s not hard to reduce during post-processing but here again don’t overdo it; don’t make your subjects look like they’re made out of plastic wrap.
Posterization
Posterization is nobody’s friend except Andy Warhol. Not working in high-bit color modes and applying strong contrast and/or saturation adjustments quickly causes posterization. Use extra care when you’re working on JPEGs. (Don’t confuse this with a graphics card being challenged to display an image when zoomed in or out; if you don’t see posterization at 100% screen magnification it’s not in your file and won’t print.)
Unnatural Saturation
Don’t fool yourself. If you don’t believe it, neither will anyone else. Often just one or two colors will seem off. When this happens adjust them separately from the others. There’s no reason to limit one color because of another.
Vignetting
Vignetting can be a great way to strengthen the frame and to direct and keep attention in it. As with all things, it can be overdone, calling attention to itself and reducing the contrast of the areas it affects adversely. Monitor lens corrections as the ant-vignetting they apply often goes too far and you end up with corners that are so light they become distracting.
Using preflight checklists is a standard practice for pilots and doctors. Though the stakes aren’t as high, they’re a good idea for photographers too. Use this checklist before you share or print images and you’ll completely eliminate Homer Simpson moments. (Doh!) Checking these things will quickly become second nature for you, but don’t let that lead to sloppiness; be thorough. There are enough items to check that it’s easy to forget one or two. But there are so few that you can count them off with your fingers. It’s probably taken you longer to read this than it will to do it on your next image or print. Just scan the bullet points.
No comments:
Post a Comment